How to Take Better Photos on the Trail Using Just Your Phone
One of the questions I get asked pretty often when I share photos from the trail is what camera I’m using.
The answer surprises people.
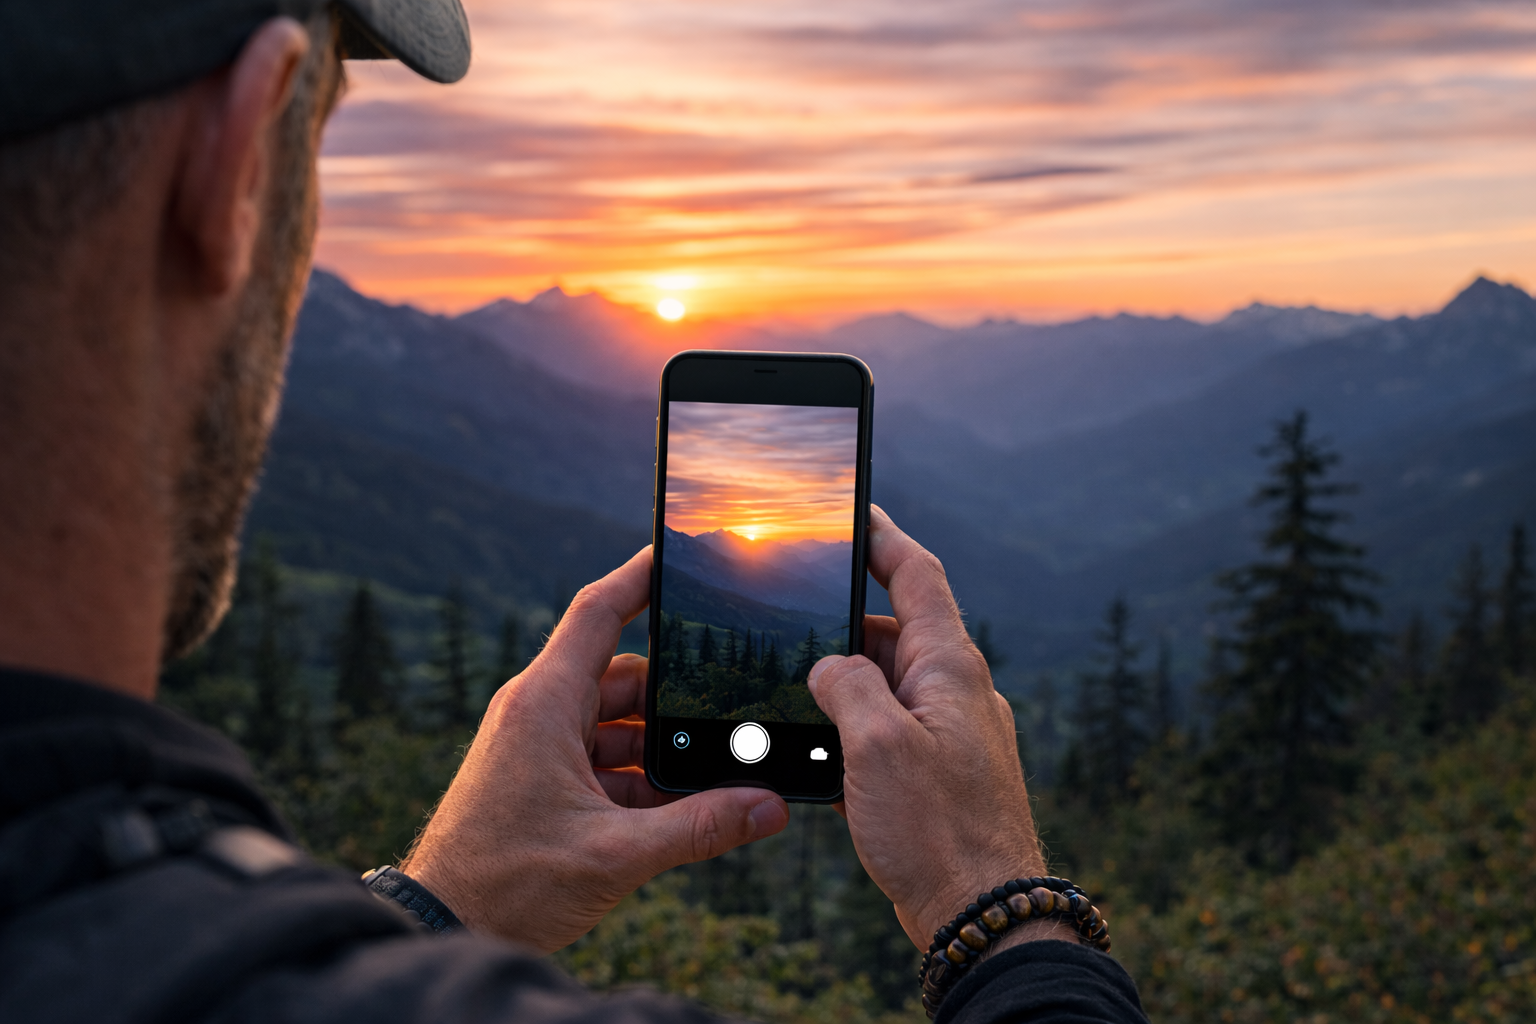
Most of the time, it’s just my phone.
Over the years phone cameras have become incredibly powerful. The truth is that you don’t need expensive gear to capture beautiful moments outdoors. What matters far more is understanding a few basic principles like light, framing, and how to make small adjustments after you take the photo.
If you’re hiking with a phone in your pocket, you already have everything you need to start taking better photos on the trail.
Start With the Light
Lighting is the single most important factor in photography.
Midday sunlight, when the sun is directly overhead, tends to create harsh shadows and washed-out highlights. You’ve probably noticed this when photos look overly bright or flat.
The best time to take photos outdoors is during the early morning or late afternoon when the sun is lower in the sky. Photographers often call this the “golden hour” because the light becomes softer and warmer, which makes landscapes look more vibrant and natural.
If you’re hiking during the middle of the day, look for areas where the light is filtered through trees or clouds. Forest trails can actually produce beautiful lighting because the canopy softens the sun and creates a more balanced scene.
Before you tap the shutter, take a second to look at how the light is falling across the landscape. Sometimes simply shifting a few steps to the left or right can dramatically improve the shot.
Think About Your Framing
Another easy way to elevate your photos is by paying attention to framing.
Instead of simply pointing your camera at a landscape and snapping a photo, look for ways to guide the viewer’s eye through the image.
Trails are perfect for this. A winding path naturally draws the viewer into the scene and creates a sense of depth. Boardwalks, rivers, fallen logs, and rock formations can all serve as natural lines that lead the eye through the photo.
Foreground elements also help make photos more interesting. A branch, a cluster of wildflowers, or even a textured rock in the foreground can give the image layers and make the viewer feel like they’re standing there with you.
It’s amazing how much difference a small shift in perspective can make.
Sometimes the best photo comes from crouching down, stepping back, or taking the shot from a slightly different angle.
Auto Mode vs Manual Controls
Most of the time, your phone’s automatic camera settings will do a great job.
Phone cameras are designed to quickly analyze the scene and adjust exposure, color, and focus automatically. For everyday trail photos, auto mode is usually more than enough.
That said, many phones also allow you to make small manual adjustments if you want a little more control.
One of the simplest adjustments you can make is exposure. If your photo looks too bright or too dark, tapping the screen and sliding the exposure control slightly can make a big difference.
Some phones also allow you to adjust things like focus, white balance, or depth of field in “pro” or “manual” modes. These features are nice to experiment with, but they aren’t necessary to capture great photos.
The most important thing is simply learning to recognize when your camera might need a small adjustment.
Don’t Skip the Edit
One of the biggest secrets to great photography happens after the photo is taken.
A few small edits can turn a good photo into a great one.
The good news is that you don’t need fancy software. The built-in editing tools in your phone’s photo app are more than capable of making meaningful improvements.
Some simple adjustments that can elevate your photos include:
Slightly increasing contrast to add depth
Adjusting highlights and shadows to recover detail
Boosting clarity or sharpness to enhance texture
Adding a small amount of warmth to make outdoor scenes feel more natural
The key is subtlety. Small changes often produce the most natural-looking results.
Think of editing as fine-tuning the photo rather than completely transforming it.
Capture the Moment, Not Just the Landscape
Some of the best trail photos aren’t just wide landscape shots.
They’re moments.
Sunlight filtering through trees. Water flowing over rocks. Boots stepping onto a trail. A quiet stretch of boardwalk disappearing into the forest.
Video can capture these moments beautifully as well. A short clip of wind moving through the trees or water cascading down a small waterfall can instantly transport people back to that place.
The goal isn’t perfection.
It’s capturing the feeling of being there.
The Camera You Have Is Enough
It’s easy to assume that better gear leads to better photos, but that’s rarely the case.
Great photography comes down to awareness. Paying attention to light. Looking for interesting angles. Taking an extra second to frame the shot.
The truth is that some of my favorite photos from the trail were taken with nothing more than the phone in my pocket.
And that’s the beauty of it.
You don’t need a backpack full of camera equipment to capture the outdoors. The trails already provide the scenery. All you need to do is notice it.
So the next time you step onto a trail, take a moment to slow down, look around, and start experimenting with the camera you already have.
You might be surprised by what you capture.